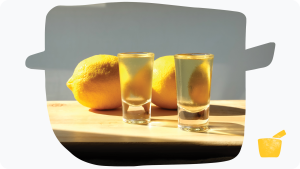
An easy-to-follow guide for making one of the world’s favourite digestifs. When life gives you lemons, why not make some limoncello…
There’s nothing quite as refreshing as an ice cold glass of limoncello after a meal – particularly in the summer months. Luckily there’s also no drink quite as simple to make at home. All you need to hand is some lemons, vodka, and sugar and you’re good to go (a quick heads up: the process is very simple but the flavour does take 20 days to develop).
It is more than worth making your own limoncello over buying a bottle from the supermarket. The burst of citrus flavour and tangy sweetness is so much fresher from a home-made bottle and you can adjust the balance of lemon zest and sugar to match the flavour you’re looking for.
So, let’s start macerating some lemon zest…
Making Limoncello: a quick guide
Ingredients
Makes approx. 1.75l of limoncello
- 6 unwaxed lemons
- 1 litre of vodka (at least 40% alcohol)
- 500-700g sugar
Equipment
- Vegetable peeler
- 2 litre jar
- Sieve
- Saucepan
- Large bowl/pan
1. Peel the zest off the lemons
To get the freshest tasting limoncello you want to peel the zest (the yellow skin) from 6 lemons, with as little of the pith (the white layer under the zest) as possible. To do this take a sharp vegetable peeler and gently peel the very top layer of zest off of each lemon. Ideally the strips of zest you will end up with will be bright yellow on each side and paper thin – almost see-through.
Some lemons have more pith than others, so this is a bit more of an art than a science. What you’re looking to end up with is a bowl of bright yellow zest. A little pith won’t ruin your limoncello, but it is the most bitter part of the fruit, so the more of it that tags along with the zest, the more bitter the final product will be.
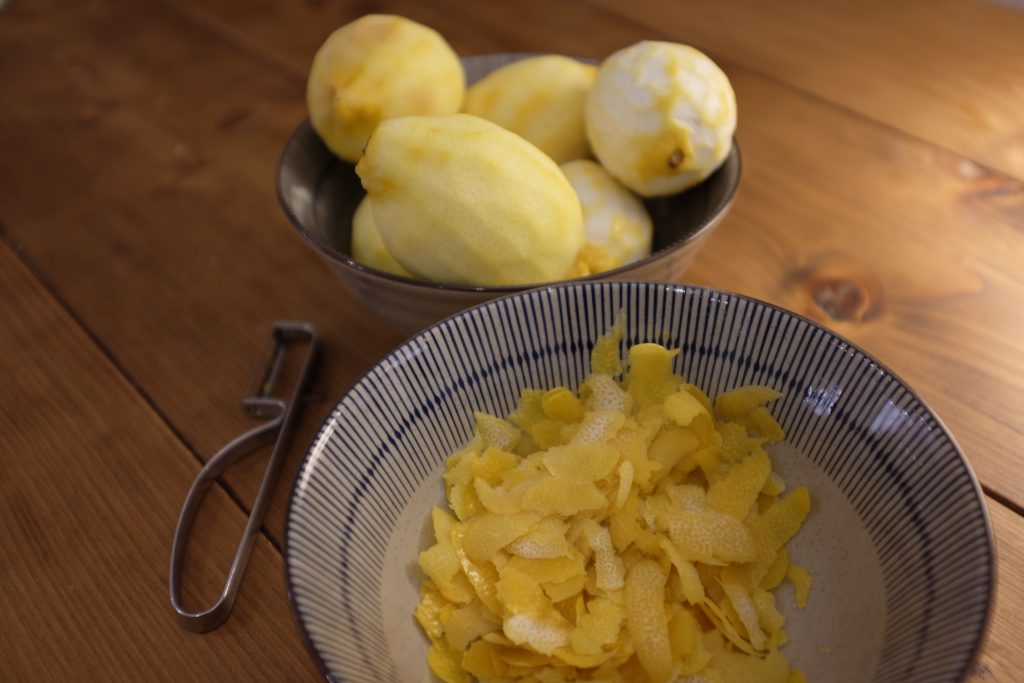
One important note here: do this step with a vegetable peeler rather than a lemon zester. While you’re looking to extract the zest, you also want to be able to sieve it out easily at the other end of the process. This is much easier with finely peeled strips than with small flakes of zested lemon.
2. Sterilise a large jar
Take a 2 litre glass jar, wash it in soapy water, and then sterilise it – either by filling it with boiling water or baking in an oven at 150ºC for 15 minutes. Then leave it to cool to room temperature. This step is to ensure that any bacteria or other organisms won’t spoil your limoncello.
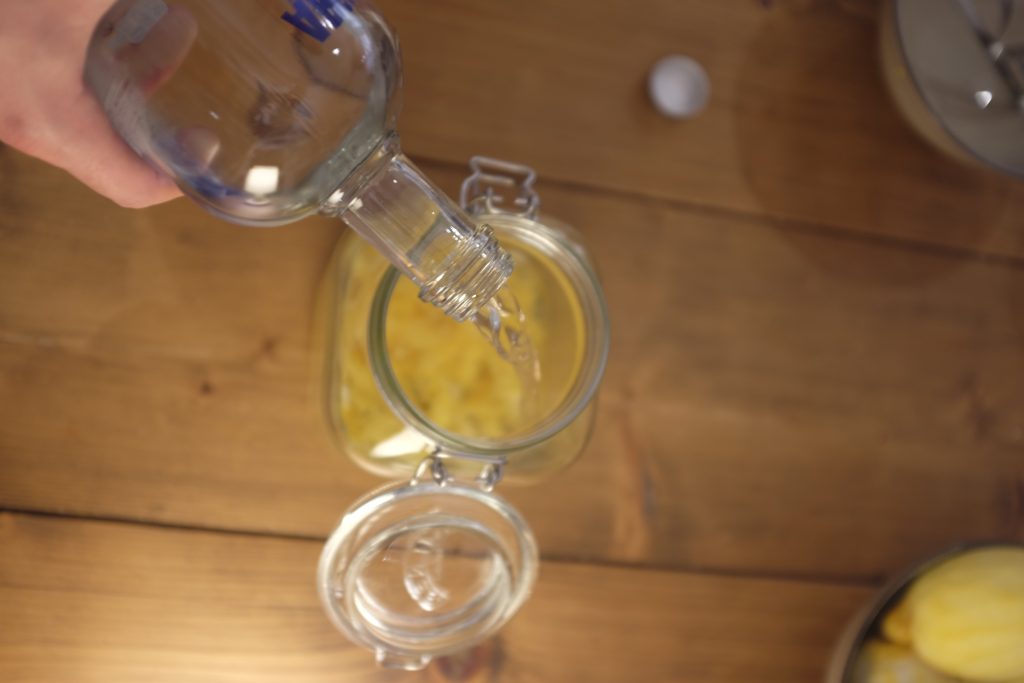
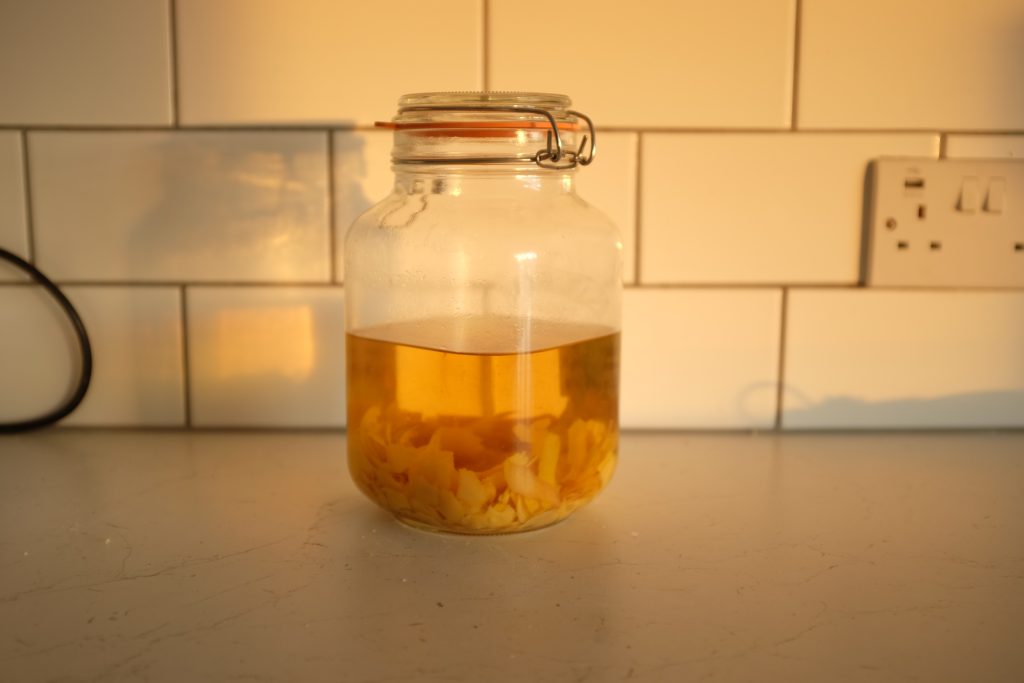
3. Combine the vodka and lemon zest in a large jar
Limoncello gets its strong lemony flavour from a process called maceration: soaking the lemon zest in strong alcohol extracts the flavour into the liquid. For this stage all you need to do is transfer your lemon zest into your jar, pour all the vodka in with it and seal the jar. You don’t need any other parts of the lemons – I’d recommend juicing them to make lemonade another time. The vodka bottle is worth keeping hold of, however, as you can use this to bottle the resulting limoncello.
In terms of which vodka to use, anything that’s 40% alcohol or above will do – obviously the higher the alcohol percentage, the more alcoholic your limoncello will be. I would recommend 40% as the absolute minimum, however, mainly because this means the resulting limoncello can be kept in the freezer without freezing (this is because of the freezing point of alcohol at different dilutions: the freezing point of 40% spirits is -27ºC, with freezers usually being between -18 and -22ºC in the UK).
There is some debate about whether a higher alcohol percentage leads to faster maceration – this is not something I can confidently comment on without making absurd amounts of different limoncellos, but I can say that the timings in this guide work perfectly when using 40% vodka.
4. Leave for 10 days
In order to allow the maceration process to work, leave the lemon zest and vodka in the sealed jar for 10 days at room temperature out of direct sunlight. I like to disturb the jar every few days by giving it a little shake.
5. Make a sugar syrup and add it to the jar
With the lemon flavour well on the way, it’s time to add the sweetness. To do this, make a 1:1 sugar syrup in a pan. I use 500g of caster sugar and 500ml of water, but if you want to make a sweeter bottle of limoncello you can push this up to 700g of sugar and 700ml of water – just keep the ratios the same.
Stir the to dissolve the sugar into the water while heating the pan to boiling point on the hob, and then simmer for 5 minutes. After this, remove the pan from the heat and allow the syrup to cool to room temperature (this will take a couple of hours). Once it’s cooled, open the jar and pour the syrup in with the lemon zest and vodka, seal the jar again and snake to combine.
6. Leave for another 10 days
To allow the flavour to develop further, leave the jar sealed at room temperature for another 10 days, giving it an occasional shake.
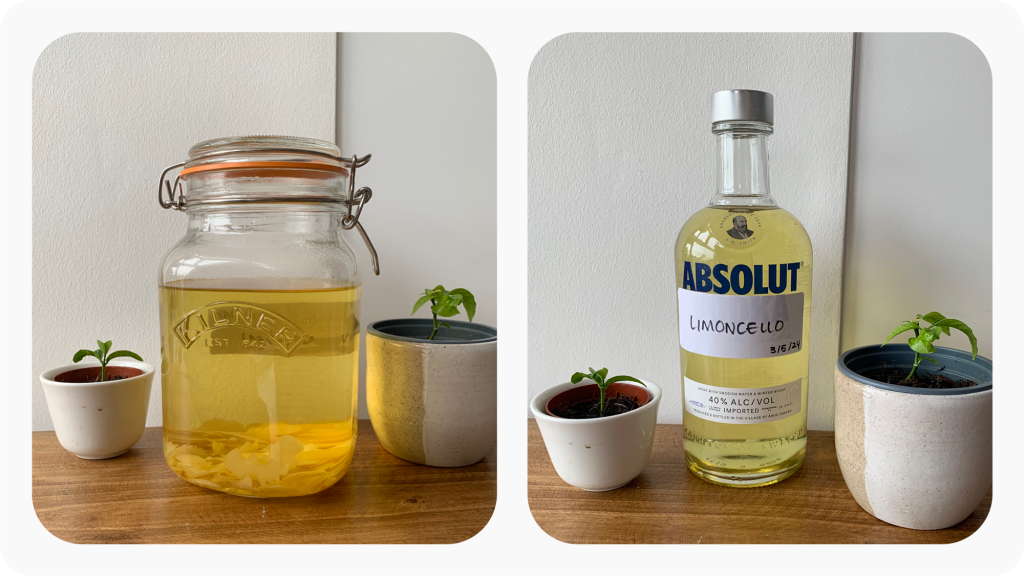
7. Sterilise two bottles
Take 2 glass bottles – one of which I would recommend being the original vodka bottle – and sterilise them (see step 2 above). I always use screw-top bottles as these are best for laying flat in a freezer drawer. Leave the bottles to cool to room temperature.
8. Sieve out the lemon zest and bottle your limoncello
Pour your limoncello through a sieve into a large bowl or pan through a sieve to remove the lemon zest, then use a funnel to transfer the liquid into your sterilised bottles.
I usually throw the lemon zests away, but you could consider using these to make candied lemon peels in order to avoid food waste.
9. Keep in the freezer
As long as you have used alcohol that’s at least 40%, you can store your limoncello in the freezer so it can be served ice cold (the best way to serve it). Depending on the temperature of your freezer you might see some gelatinous pieces floating around – these are just semi frozen bits of sugar syrup which quickly dissolve into your limoncello when poured into a glass.
Enjoy!