A quick and easy guide to making one of the world’s most popular dips, and the case for de-shelling chickpeas.
Translated from Arabic literally as “chickpeas,” hummus is a delicious savoury dish traditionally made from combining tahini, garlic, lemon juice and (you guessed it) chickpeas. Its smooth creamy texture and sesame sweetness make it a perfect accompaniment to pita and other flatbreads and it is often an essential component in meat or falafel wraps.
Hummus has been made in the Levant since at least the 13th century, but only made its way onto UK supermarket shelves in the 1980s. Today it’s among the most popular items in deli aisles across the country, with Brits eating 12,000 tonnes of hummus each year as of 2011 (and it wouldn’t surprise me if this number has risen significantly in the past 15 years).
But there’s no need to buy ready-made hummus – it’s quick, easy and cheap to make your own at home. Keep reading for a simple guide for how I make my hummus and some tips for how you can experiment with different flavours.
Making hummus: a step-by-step guide
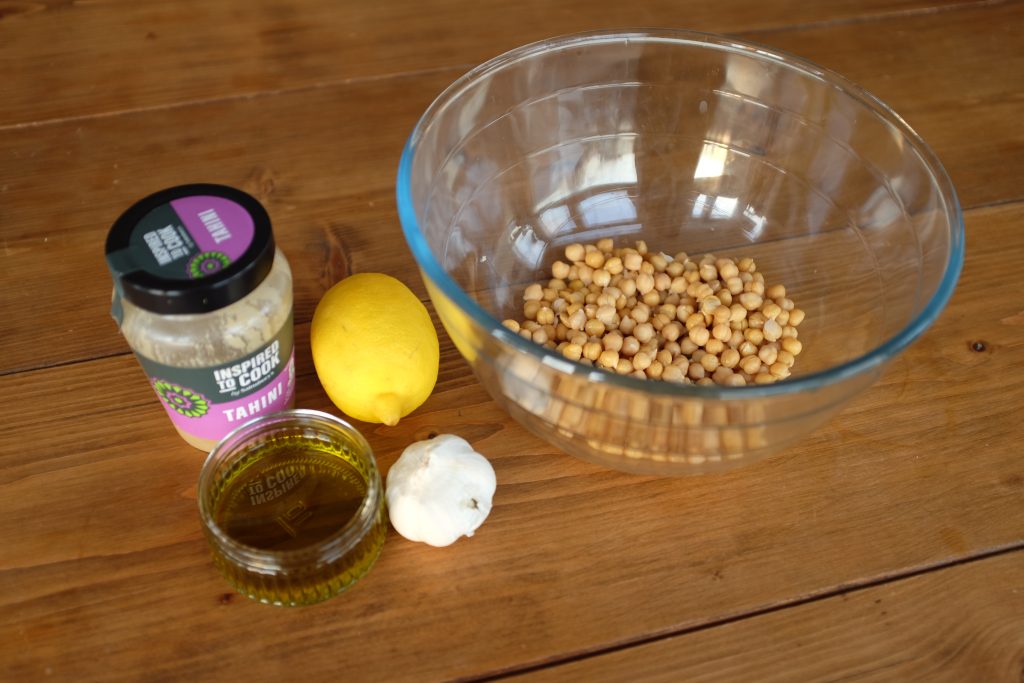
Ingredients
- 1 tin of chickpeas
- 50ml olive oil
- The juice of ½ a lemon
- 3 tbsp tahini
- 1 medium-sized clove of garlic
- 1 tsp salt
Equipment
- Food processor
- Large mixing bowl
- Lemon juicer
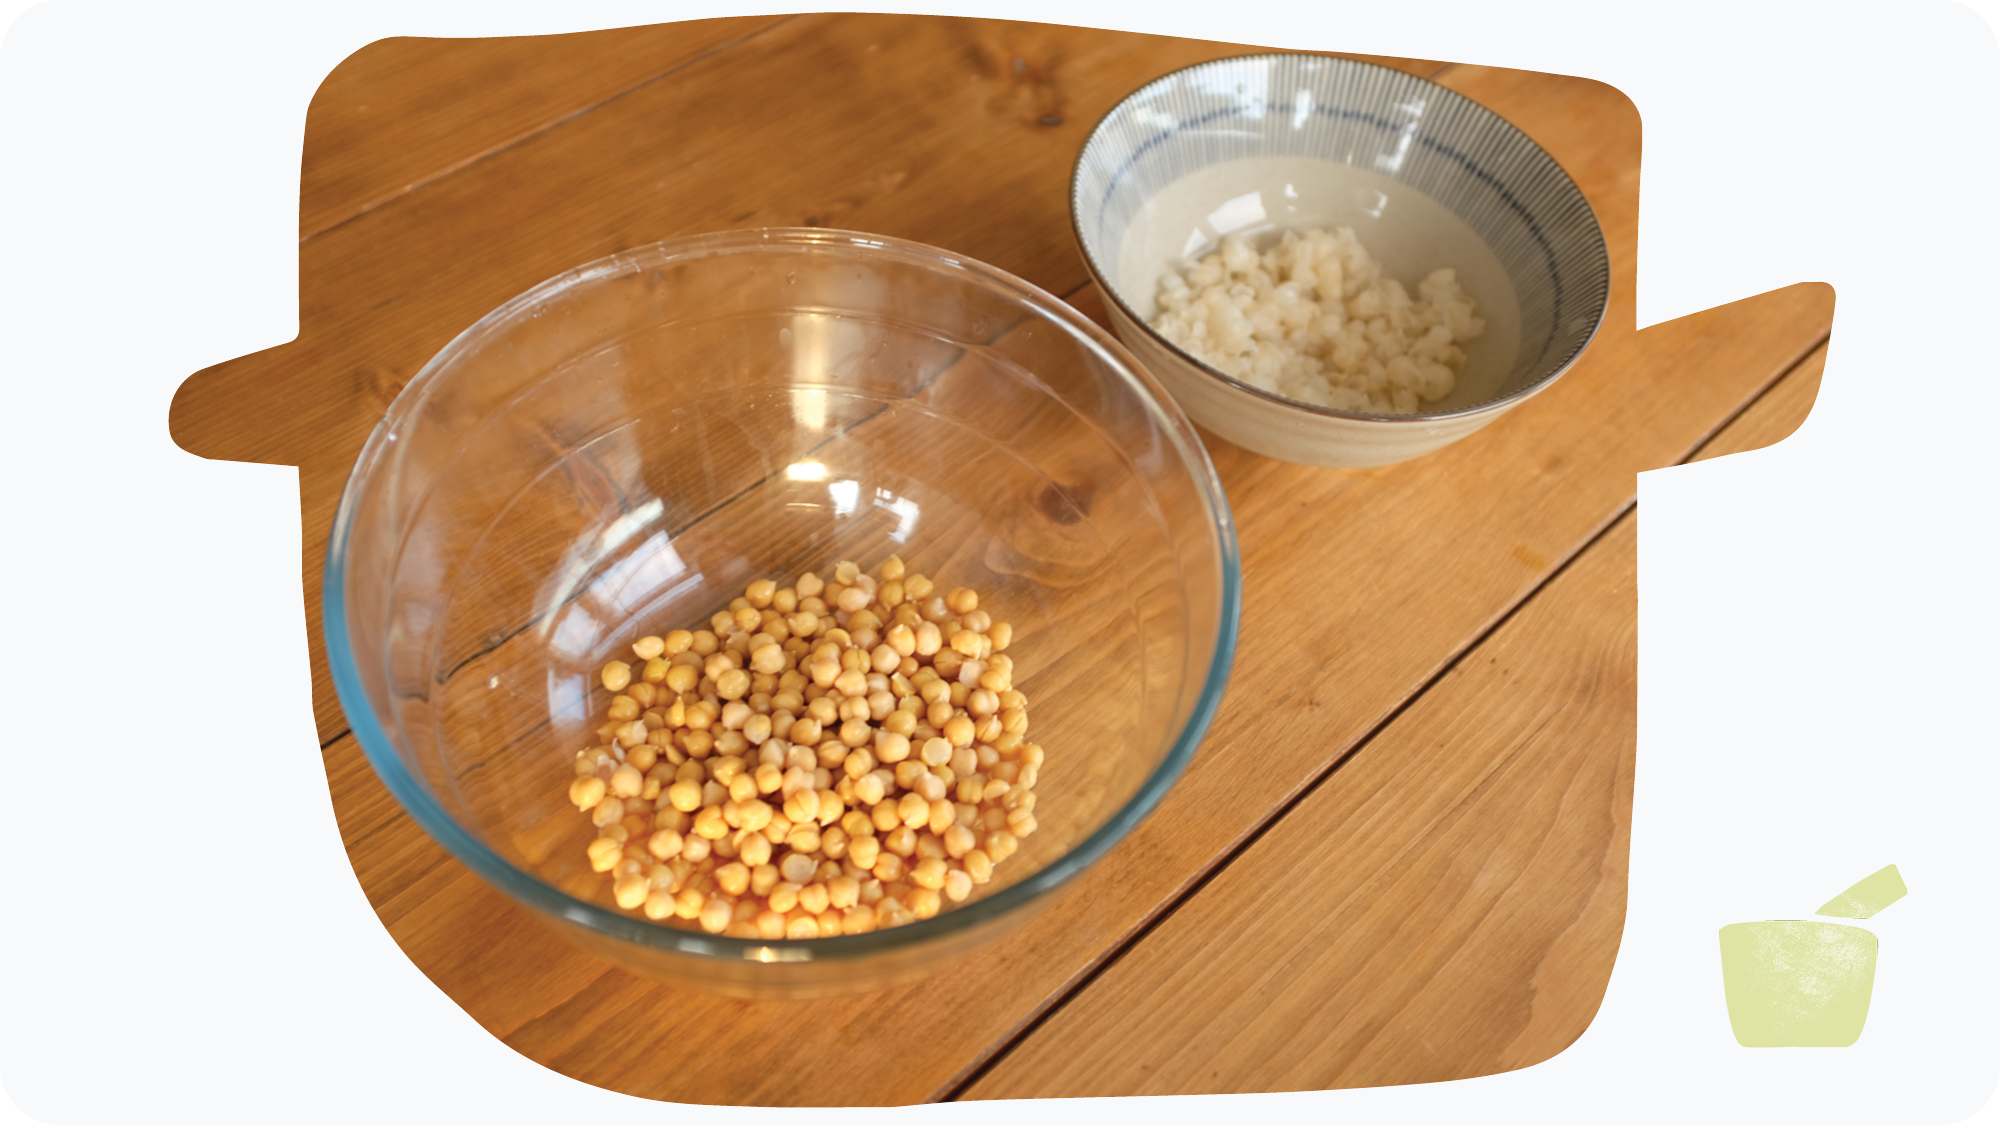
1. (Optional) soak and de-shell the chickpeas
Before I first made hummus I didn’t know that chickpeas have shells. In fairness they’re quite easy to miss, largely due to the fact that they’re transparent and very thin (two attributes that make anything hard to spot). Each individual pea has one of these see-through coatings, but luckily they’re quite easy – if a little time-consuming – to remove. It takes around 15 minutes to de-shell one tin of chickpeas, but in my opinion it’s more than worth it.
If you’re pushed for time, or can’t be bothered with the extra effort (totally understandable) then you can skip this step – you’ll still end up with perfectly edible hummus. I would recommend doing it though, as removing the shells results in a smoother hummus and one that I find has a stronger taste of chickpeas balancing against the sesame richness of the tahini. If you do skip this step, just make sure when draining your chickpeas to do so over a bowl so that you keep the aquafaba (the water in the tin) – as this will be useful later.
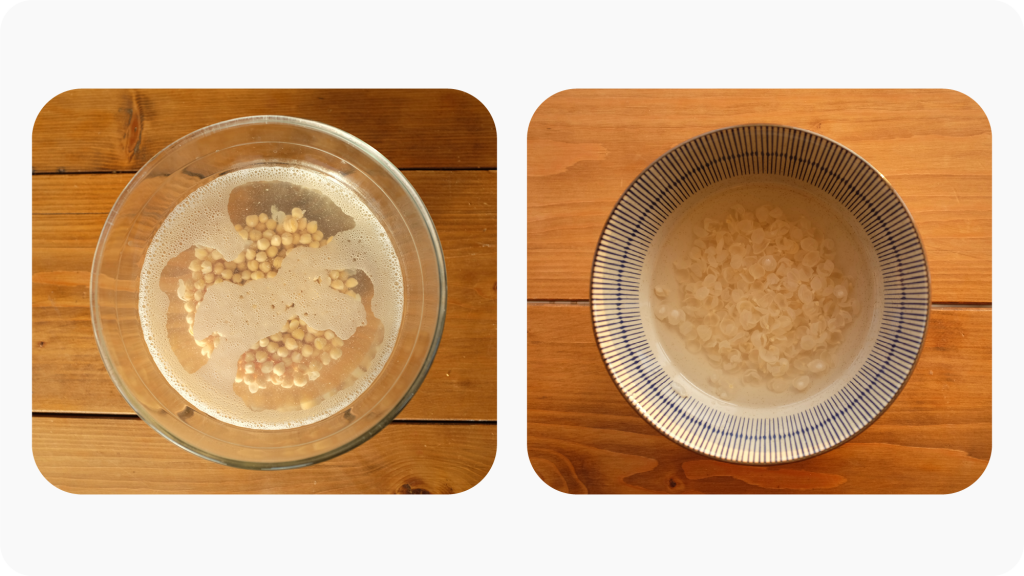
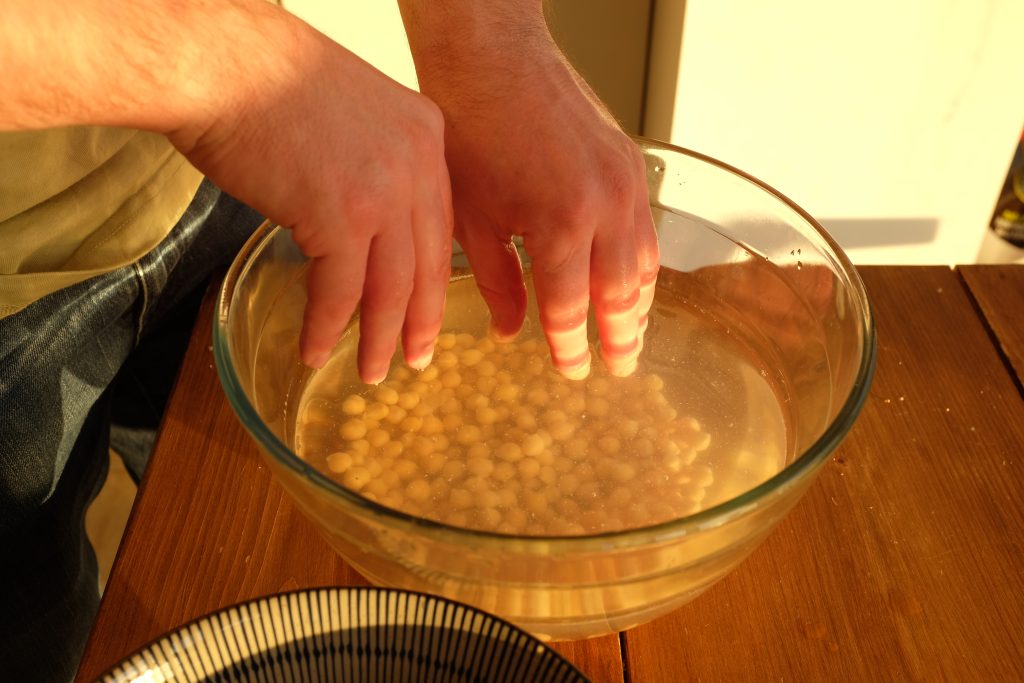
To de-shell your chickpeas, pour the whole tin into a large bowl (including the aquafaba) and add about 500ml of cold water. Leave this to soak for 5-10 minutes, and then start to remove the shells with your fingertips. To do this you simply need to reach into the bowl and softly pinch each pea and the shell will usually come off in one – there’s a bit of knack to the amount of pressure you need to use but it’s very intuitive once you start doing it.
Keep peeling shells off the chickpeas and putting the shells into a different bowl until you’re pretty sure you’ve got them all (this takes another 5-10 minutes roughly) – you’ll start to find more and more chickpeas that don’t have shells to remove when you’re pinching them. You can either discard the shells or use them with other veg to make vegetable stock, to which they add a really nice amount of savoury saltiness.
Once you have de-shelled the chickpeas, sieve them over another bowl to retain the leftover water (as this can be useful for thinning your hummus if required) and put the chickpeas into a food processor.
2. Blend the chickpeas, olive oil, tahini, garlic, lemon juice and salt
After you have added your chickpeas (either de-shelled or not) to the food processor, add 50ml of olive oil, 3 tablespoons of tahini, a medium-sized clove of garlic, the juice of half a lemon and a pinch of salt. Blend all the ingredients until you have a smooth paste.

If the result is either too thick or too thin, there’s no need to panic. To thin out slightly-too-thick hummus you can gradually add some of the water from the de-shelled chickpeas or aqafaba (if you ignored the warnings and this liquid has ended up down your sink you can just use water). If, on the other hand, you find your hummus a bit thin then I would recommend adding some more tahini until it’s the texture you’re looking for.
3. Adjust the seasoning to suit your taste
Once you have the right consistency, give your hummus a taste and see what you think. If you’ve used regular water to thin it rather than aquafaba then it will probably need a little bit more salt, maybe you want it to have a stronger sesame taste in which case you can add more tahini, or if it’s not citrus-y enough you can add some more lemon juice. If you find the hummus bitter because there’s too much lemon (or simply that the lemon you used was more bitter than expected) then I recommend adding a small pinch of sugar alongside a bit of olive oil to balance this out.
At this point you can also think about adding some spices to the hummus – maybe some ground cumin, za’taar or sumac. If doing this then I recommend starting small and tasting as you go (you can always put more in, but alas you cannot remove finely ground spices from chickpea and sesame paste). Basically you can add whatever you fancy, it’s your hummus!
5. Serve
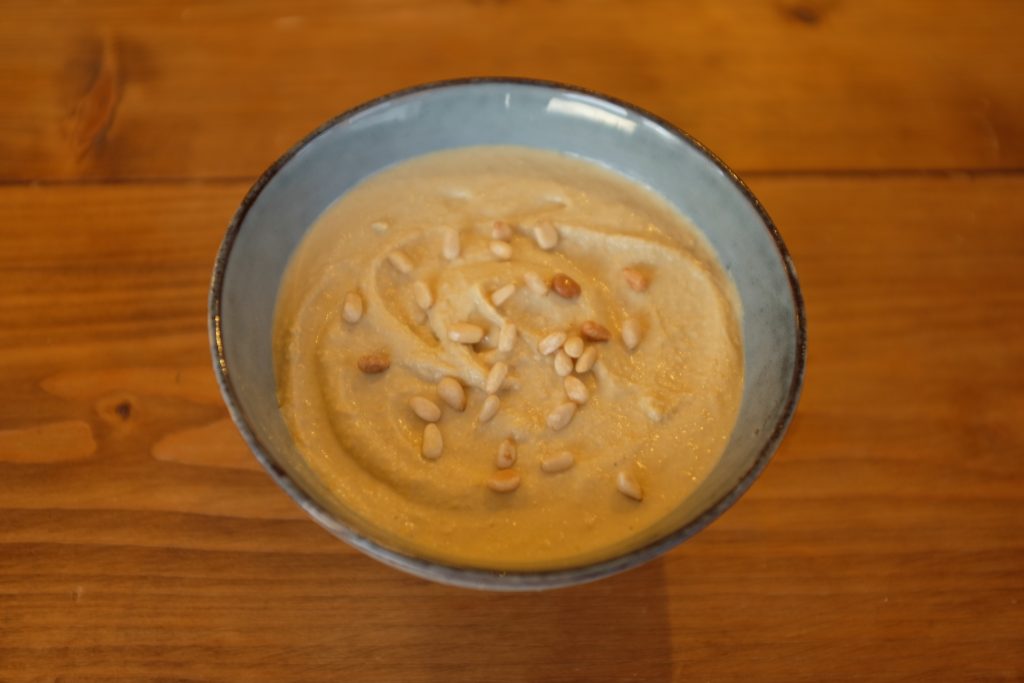
Once you’re happy with the taste, transfer your hummus from the food processor into a bowl or container. If you’re serving it right away as a dip you could garnish it with a drizzle of oil, some toasted pine nuts or a sprinkle of za’atar or paprika (again, whatever you like). If you’re keeping it for later then simply put it in a sealed tupperware and keep it in the fridge. It’ll usually last for up to a week in the fridge.
Enjoy!