Like many people who have entered their 30s, I recently started buying kefir from the supermarket. Then, like everyone who buys kefir from the supermarket, I started to get annoyed about how much kefir costs in the supermarket. This is when I discovered the existence of water kefir and how easy it is to make at home.
What is water kefir?
This is the first question I had, and I imagine it’s the first question on your mind as well if you’ve never heard of it. Water kefir is a fermented drink made using glutinous grains composed of a mixture of bacteria and yeast, which create a fizzy probiotic drink when left in a mixture of sugar and water. I will concede that doesn’t sound overly delicious, but I have started having a glass of the stuff every day with breakfast and I can genuinely say it tastes great (and you can make it more so – more on that below). Unlike dairy kefir, water kefir is light and refreshing, balancing sweetness with a fermenty tang.
I’m not a nutritionist nor any sort of expert on the health benefits of various fermented drinks, but a cursory glance across the internet will show a lot of people extolling the health benefits of water kefir. As ever with these sorts of things, I would say it seems clear that water kefir is good for you but some of the more outlandish claims carry a heavy air of ‘citation needed’ with them. It doesn’t really come into my pitch here though, the health benefits are more of an added bonus to the fact that:
- Water kefir is cheaper than supermarket kefir
- Water kefir is nicer than supermarket kefir
- Water kefir is surprisingly easy to make
So, here’s how you make water kefir:
Step-by-step guide to making water kefir
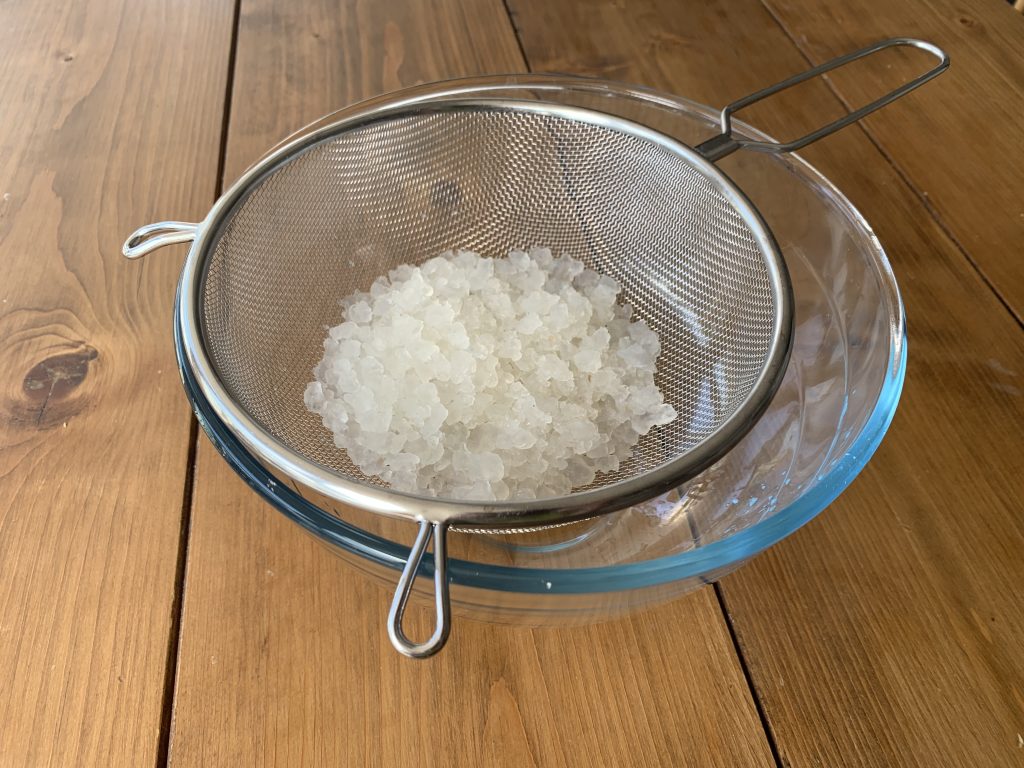
1.Get some water kefir grains
This, unsurprisingly, is essential. You can buy the grains either ready to go or dehydrated and able to be activated by soaking when you receive them (the latter is ideal if you may not be able to start making kefir right away or if you’re giving the grains as a gift – just make sure to rehydrate them fully before the first use). Ideally you want around 100g of grains for making a litre of water kefir, but the grains grow over time as you use them so you can start fairly small.
2. Sterilise a jar
Like with any fermentation, you want to have a sterilised jar ready for your water kefir. I think Kilner Jars are ideal, but any sizeable glass jar will do the trick. To sterilise the jar wash it, fill it with hot water to warm it up a little, then empty it and pour boiling water all over it before leaving to cool. (Don’t leave out the hot water step, as some slightly cheaper glass jars can break if they go straight from cold to boiling – speaking from experience here).
Important note: make sure to use a jar that is a bit bigger by volume than the amount of water you’re putting in, as the fermentation process produces gas and it’s best to leave some space to accommodate that.
3. Boil some water (and then cool it)
You want to dechlorinate the water that you’re using to make your water kefir, because otherwise you risk chlorine killing the grains. The easiest way to do this is to boil the water for a couple of minutes. Put the water in a pan, bring to the boil, and then cool it back down to room temperature (cooling is important here because hot water can kill the grains). I do this by placing the pan in a big bowl of cold water because I’m impatient, but you can just leave it to cool if you’re alright with it taking longer.
4. Mix in sugar
Once the water has cooled down, mix in and dissolve some sugar. Various recipes specify certain types of sugar, but they all work (I use regular caster sugar most of the time). In terms of quantities, it depends how sweet you want the end result to be, but I would recommend 75-85g per litre of water.
5. Add the grains and sugar water to the jar
Now add your water kefir grains and sugar water to the jar. The grains will sit at the bottom and nothing happens immediately, the fermentation occurs as you leave it over time.
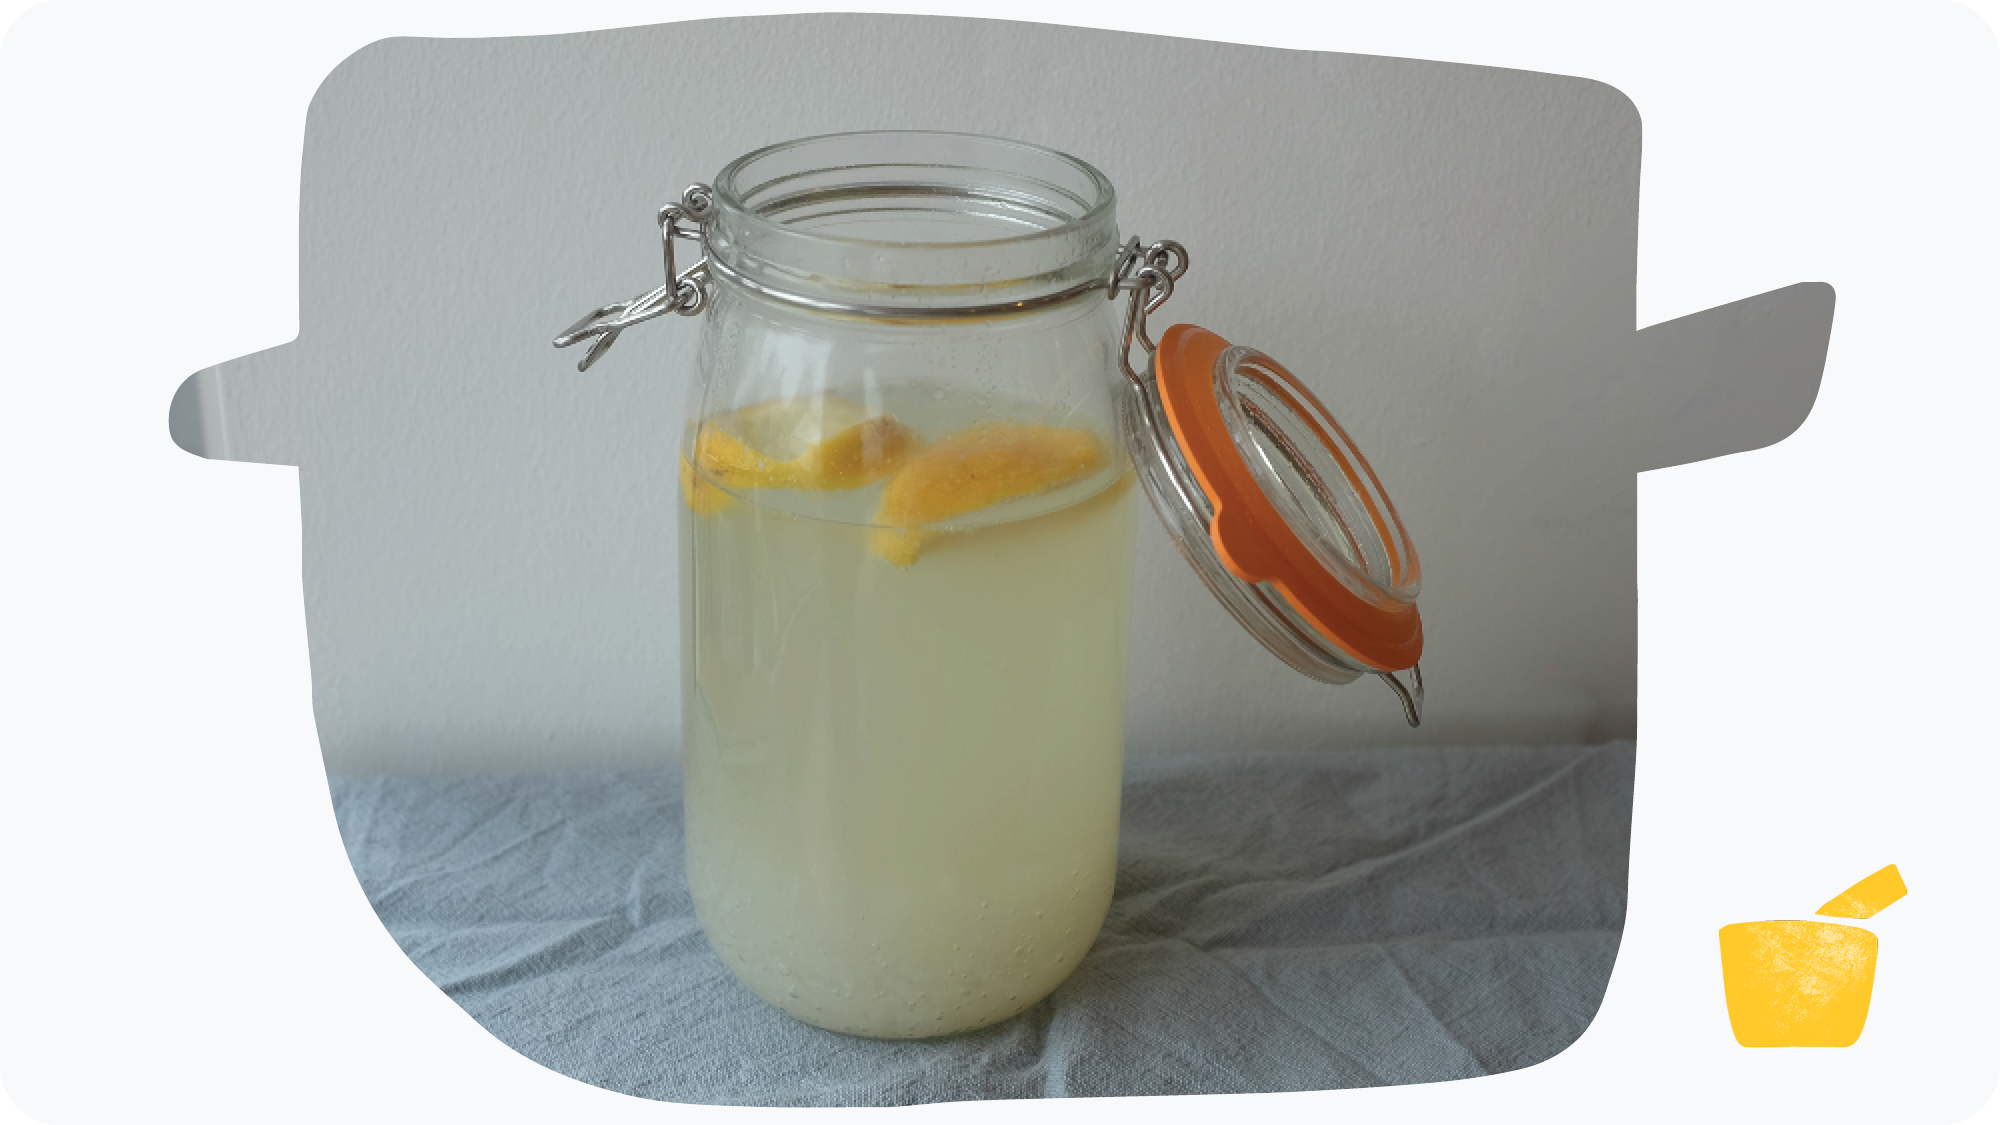
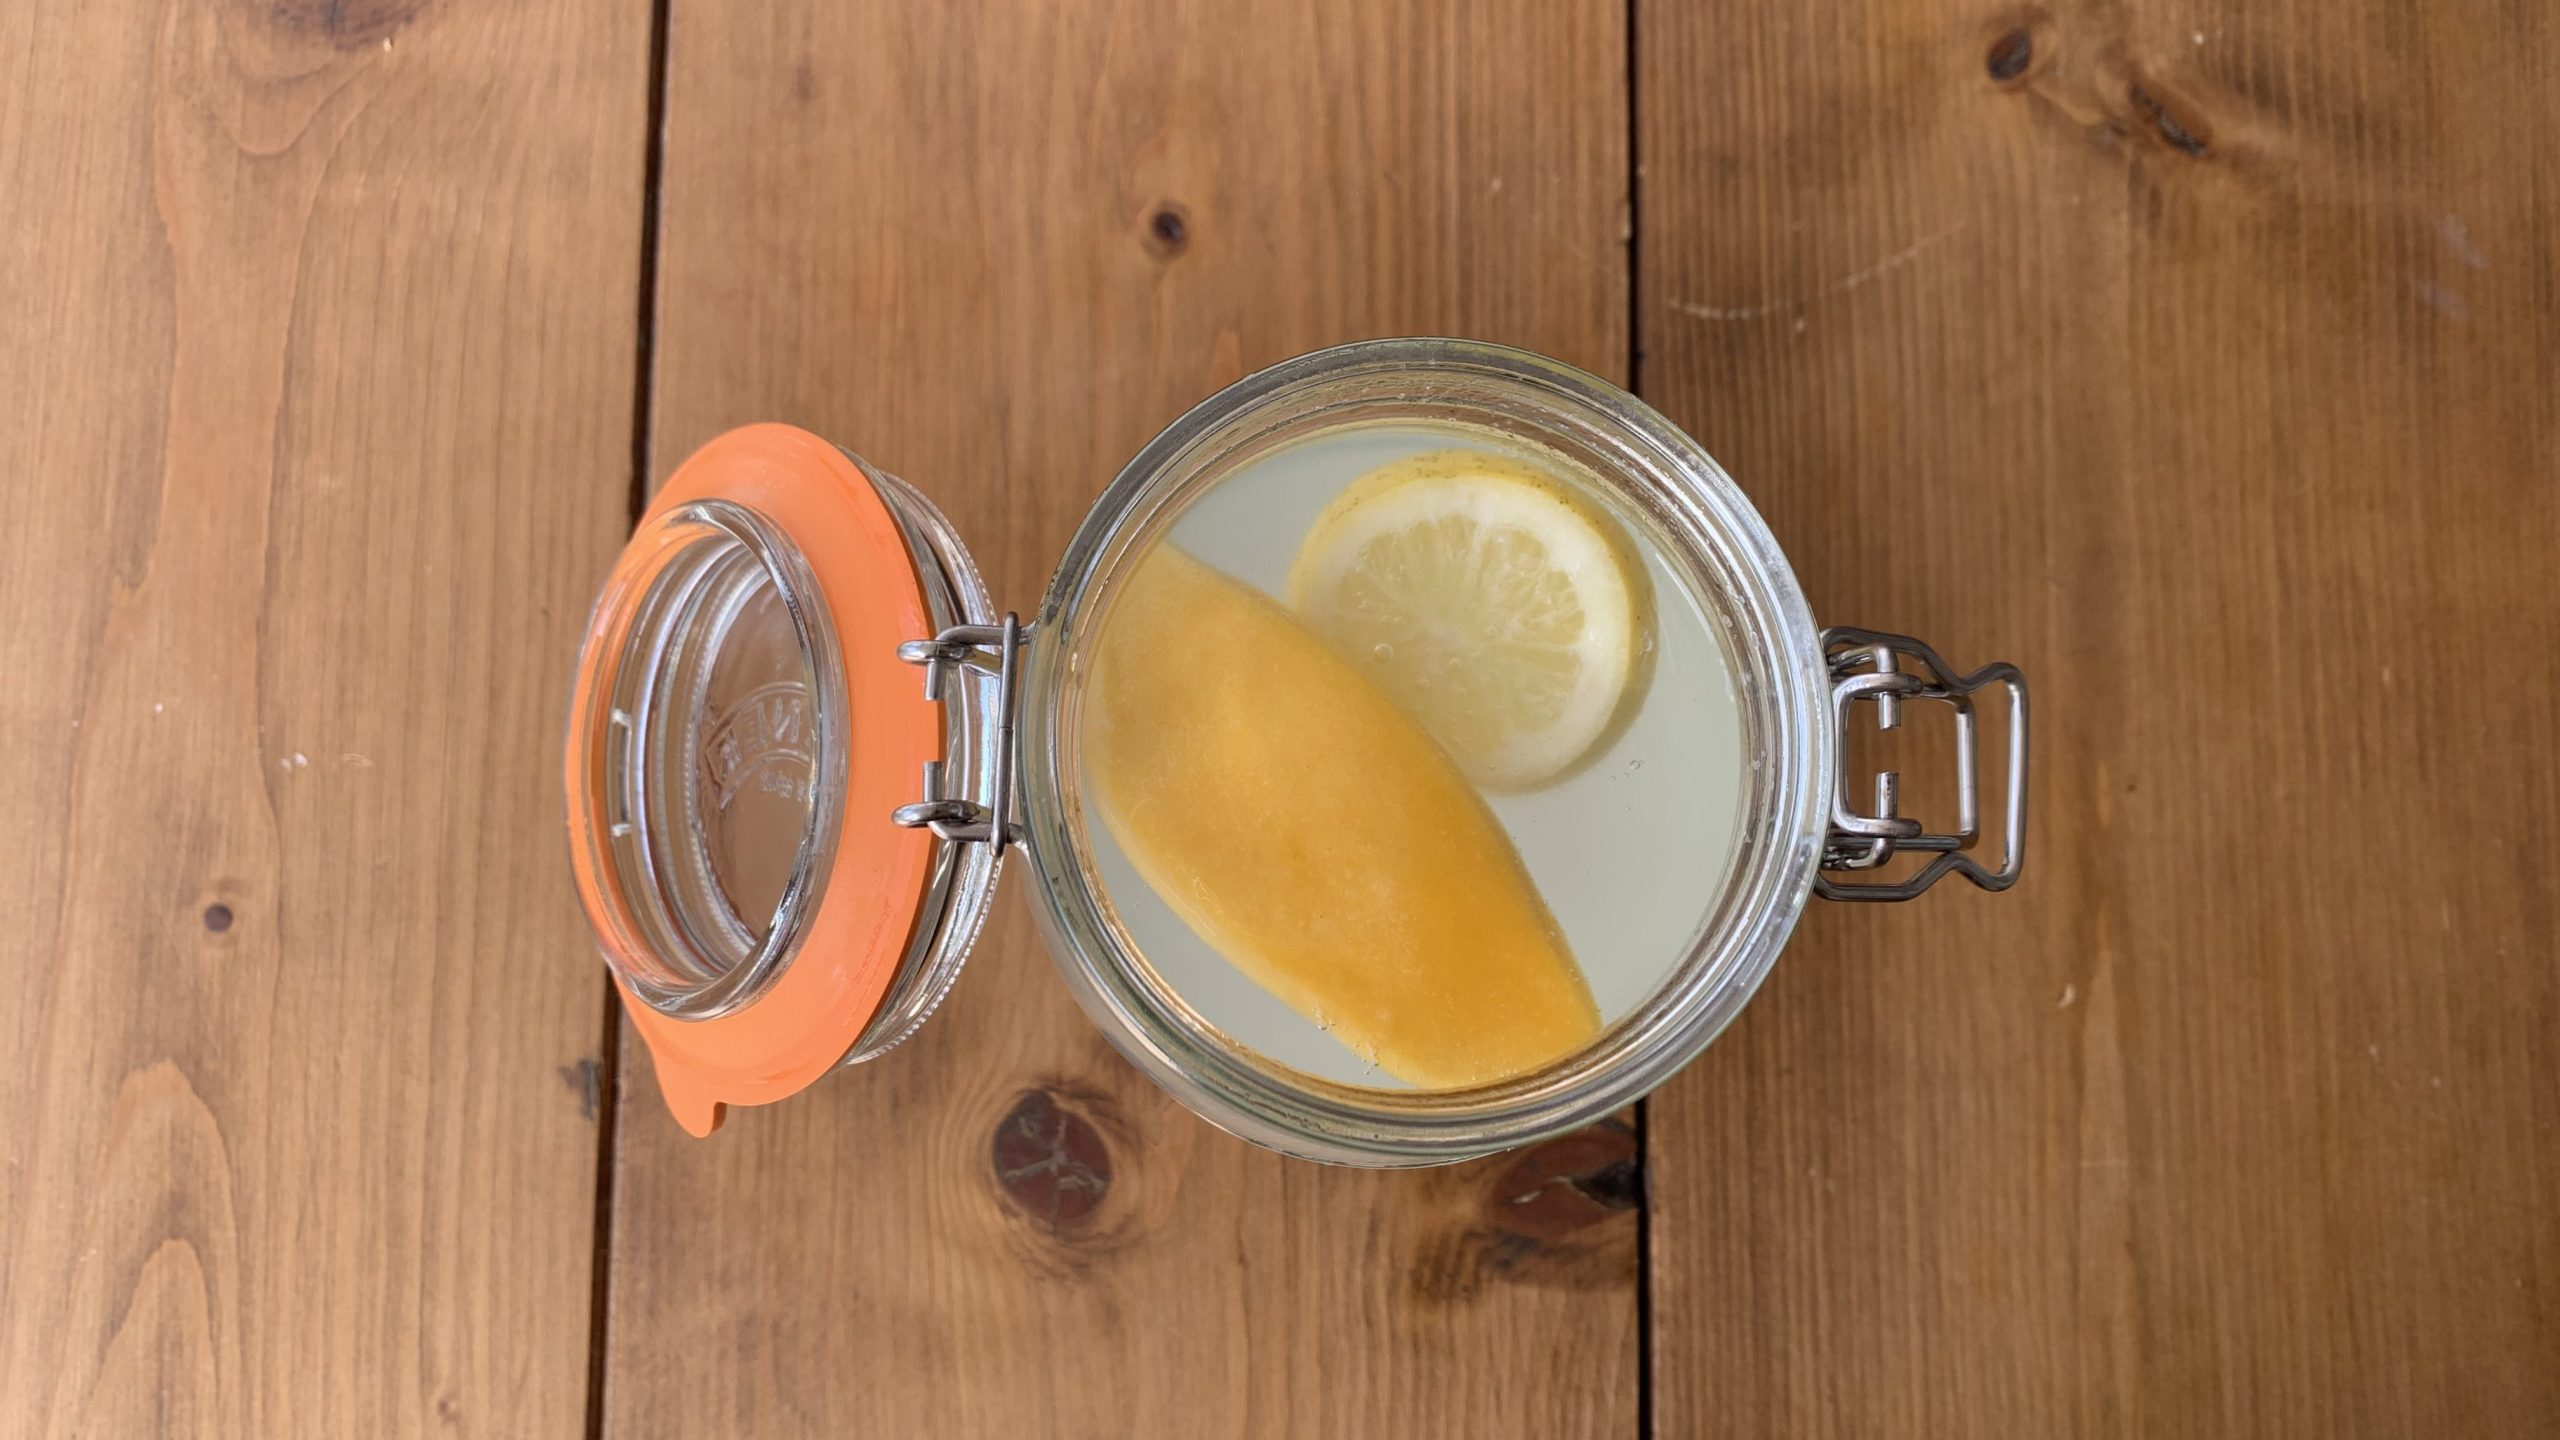
6. Add a slice of lemon and some dried fruit
This is where you can tweak how your water kefir will taste. First add a slice of lemon to the water, and then also 1-2 pieces of dried fruit. The lemon will float on top, while the dried fruit will sink and then rise to the top over the course of the ferment. The main determining factor on the taste of the kefir is the fruit you add, so it’s really for you to experiment here. Personally I add a slice of dried mango to mine, but dates and any berries work well too.
One word to the wise: use whole dried fruits. The first time I made water kefir I used a packet of dried date chunks. These fell apart in the water, including lots of small fragments of date skin. These proved very annoying to remove from the kefir grains, and I was reduced to picking small pieces out of the grains with chopsticks over the next few ferments. Don’t do this, it’s boring.
There’s some debate around whether you need to add dried fruits and lemon, but in my opinion the drink is nicer with them, so I don’t see why you’d want to leave them out.
7. Leave for 2-3 days
Now you’ve done all the hard work, all that’s left is to let the grains work their magic. Leave in a cool, dry place (I just stick the jar in a cupboard) for 2-3 days. It doesn’t generally ferment enough to produce huge amounts of gas, but even so I tend to burp mine (open the lid to let any gas out) once a day during this time.
When the fermentation is happening you’ll be able to see bubbles rising from the grains, and if you give the jar a turn this will usually release some more little bubbles.
8. Sieve the grains out and bottle your kefir
When you think that the kefir has fermented enough, give it a taste to see. The more fermented it is, the less sweet it will taste. If it’s still a little sweet for your liking, you can leave it a little longer (and make a note to add less sugar next time). With fermentation it’s never a one-size-fits all approach, and you can experiment over time to determine what tastes best to you.
If it tastes ready, sterilise a container or bottle, sieve out the grains and pour your water kefir in. Keep in the fridge and have a glass a day (or more if you like).
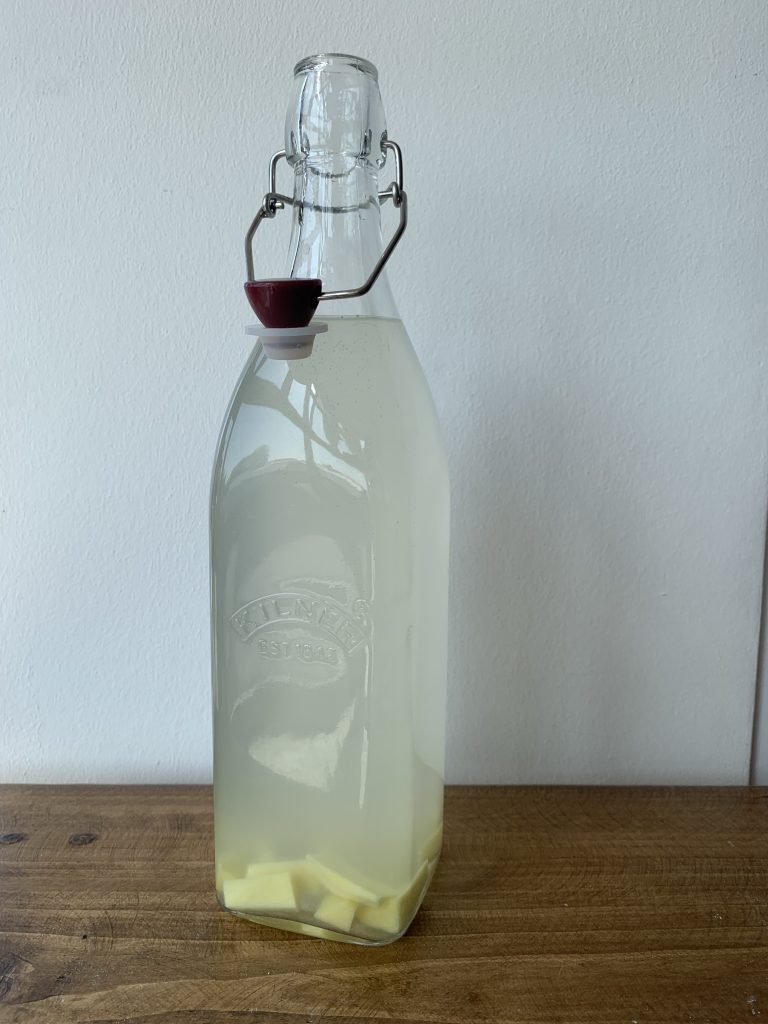
9. (Optional) add some fresh fruit
You can either drink your water kefir as it is at this point, or you can start a second ferment by adding some fresh fruit. Doing a second ferment has a significant impact on the flavour of the kefir, so again you can experiment to see what you prefer. Similarly to the dried fruit in the original ferment, pretty much any sweet fruit or berries will do (and it doesn’t have to be the same as the dried fruit you added earlier). My favourite, though, is to add some chunks of ginger.
Whether or not you add some extra fruit, your water kefir will keep fermenting – adding fresh fruit merely adds more fuel to this process and makes the kefir sweeter. For this reason you should keep water kefir in the fridge once you’ve bottled it.
Another word to the wise: the second ferment will be stronger if you leave the bottle of kefir outside the fridge for a little while, but if you leave this too long and with the lid on it can be a lot stronger. Just a heads up so you don’t get sprayed with gingery kefir…
10. Start a new ferment
I’m afraid you have now entered into a loop from which you can never escape. Now you’ve got the grains, go back to step 2 and repeat the process to make more water kefir. I recommend tweaking the recipe each time (e.g. using a different amount of sugar or different type of fruit) to experiment with different tastes.
While this may seem like a chore, the process of making water kefir only takes around 15 minutes, and I find it’s a really nice part of my general routine. If you need to take a break from fermenting you can put your kefir grains in sugary water in the fridge, which will keep them alive for a couple of weeks. I would recommend making sure they’re well established by doing a few ferments in a row before doing this though.
Final thoughts
I hope this guide was useful, and feel free to reach out on Instagram if you have any questions or to send pictures of your successful ferments.
As I mentioned in step 1, the grains will expand and reproduce over time so it’s a good idea to weigh them every now and again. Once you’ve cultivated enough of them that you have some grains you can spare, they make a great gift for anyone into fermentation.