A beginner’s guide to making your own sourdough starter: the essential building block of sourdough bread.
If, like me around 3 months ago, you have aspirations to make your own sourdough bread but have no idea where to start – then you’re in the right place.
I had a vague notion that you needed something called a starter, but I didn’t have any idea what one of these was, let alone where to get one. This guide will give you all the information I wish I’d had when starting out making my own bread: a quick explanation of what a starter is, where you can get one and how to make your own starter at home.
What, why, where?
What is a sourdough starter?
A sourdough starter is a mixture of flour and water which has been allowed to ferment. This process cultivates natural yeasts; in contrast to making ‘normal’ bread, a starter can be thought of as the natural equivalent of commercially bought yeast. It is this use of a starter instead of regular yeast which makes sourdough bread special…
Why use a starter instead of yeast?
Using a starter instead of yeast helps give sourdough bread its distinctive taste (it puts the ‘sour’ in ‘sourdough’), along with being one of the main reasons for the light and bubbly texture that runs through sourdough loaves. If you just use regular yeast, you’re just making regular bread.
Where can I get a sourdough starter?
As a starter is alive and needs ‘feeding’ to keep the yeast alive (see below), it isn’t as simple as grabbing a jar off the shelf in a supermarket. There are a few online vendors who sell starters, or you may be lucky enough to live near a bakery that will sell you some, but realistically there are two foolproof options:
- Get some off a friend
- Make your own starter
The first of these is pretty self-explanatory: if you know someone who already makes sourdough bread, ask them nicely if you can have a bit of their starter and they will likely say yes (this one depends on the nature of your relationship I’m afraid). You don’t need much, about 100g or so will do nicely.
If you’re the first over the bakery wall, then you’ll need to make your own starter before you can start churning out loaves. The process isn’t complicated, but it will take about five days (the precise length of time will depend on environmental factors such as humidity). Here’s how you do it:
How to make a sourdough starter
Ingredients
- Strong white bread flour (at least 250g)
- Tepid water
Equipment
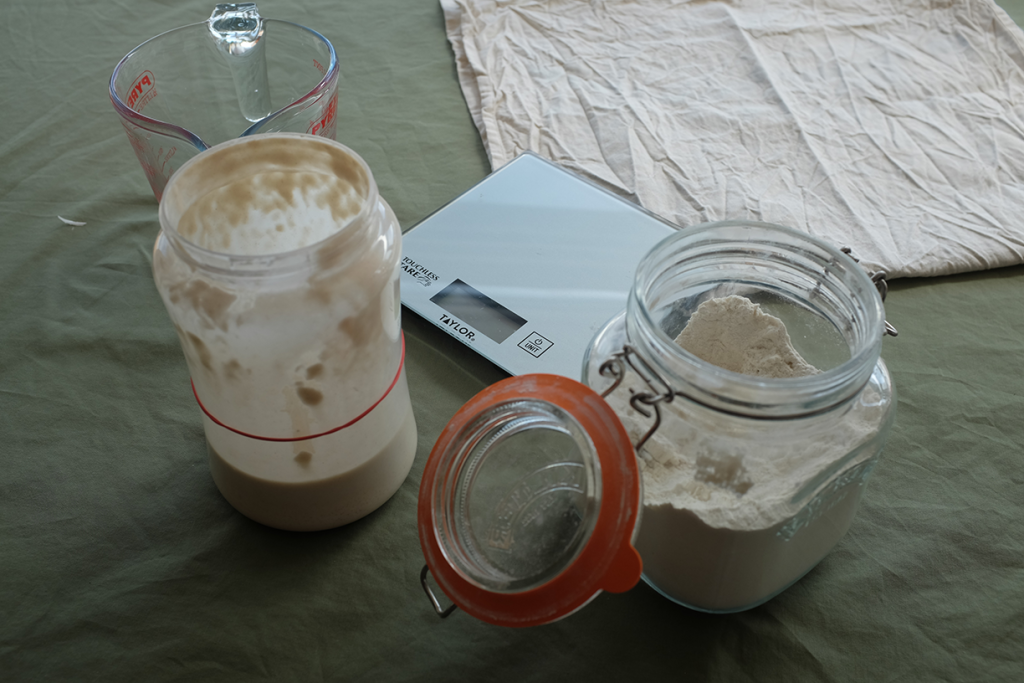
- A transparent jar (ideally plastic, more than 500ml, and with a screw top)
- A jug
- Scales
- An elastic band
With a starter what you are aiming to do is start a fermenting process that will continue over time, cultivating a mixture that draws in natural yeast from the air. As such the process simply involves mixing flour and water and adding more each day (a process known as ‘feeding’).
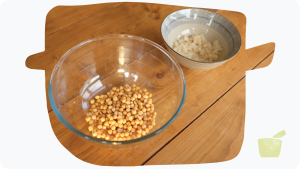
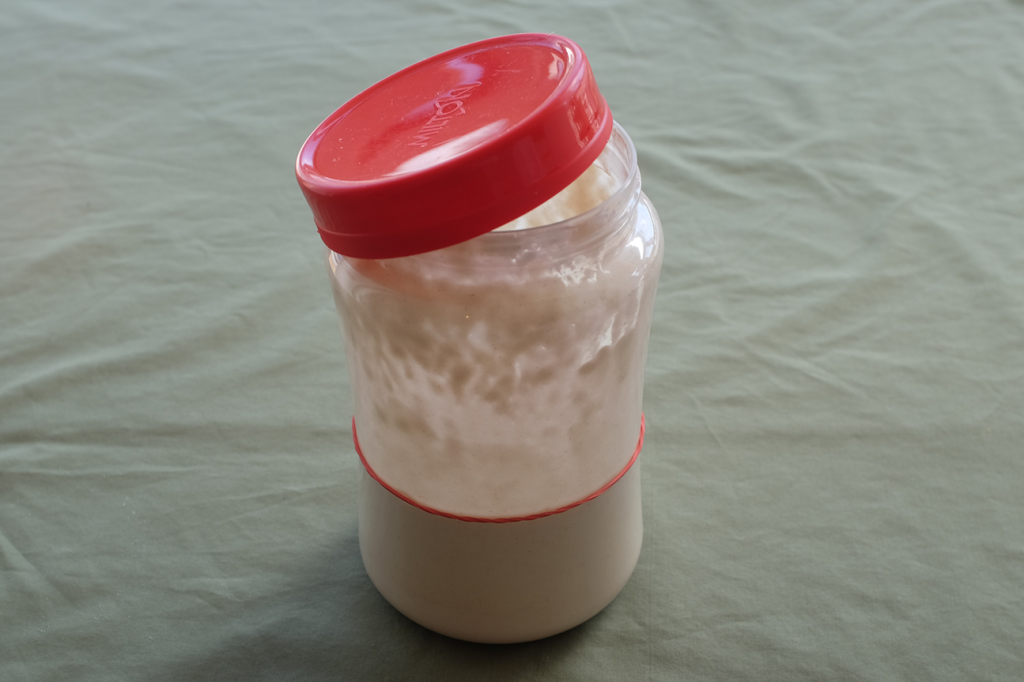
1. Mix 50g of strong white bread flour with 50g of water
Weigh out 50g of each of flour and water and use a spoon to mix them together in the jar you’re using for your starter (as above, I recommend a transparent plastic container with a screw top lid).
Once these are completely mixed together, leave the jar out at room temperature with the lid slightly off (simply rest the lid on top of the jar with a 1-2cm crack for air to get in).
Leave this for 24 hours.
2. Repeat the process 4 times
For each of the next 4 days, mix another 50g of flour with 50g of tepid water and then mix this into your starter. I find it easiest to do this by mixing the flour and water in a jug and then scooping it into the starter.
After each ‘feed’ leave the starter at room temperature with the lid slightly off so it can continue its gradual start to ferment.
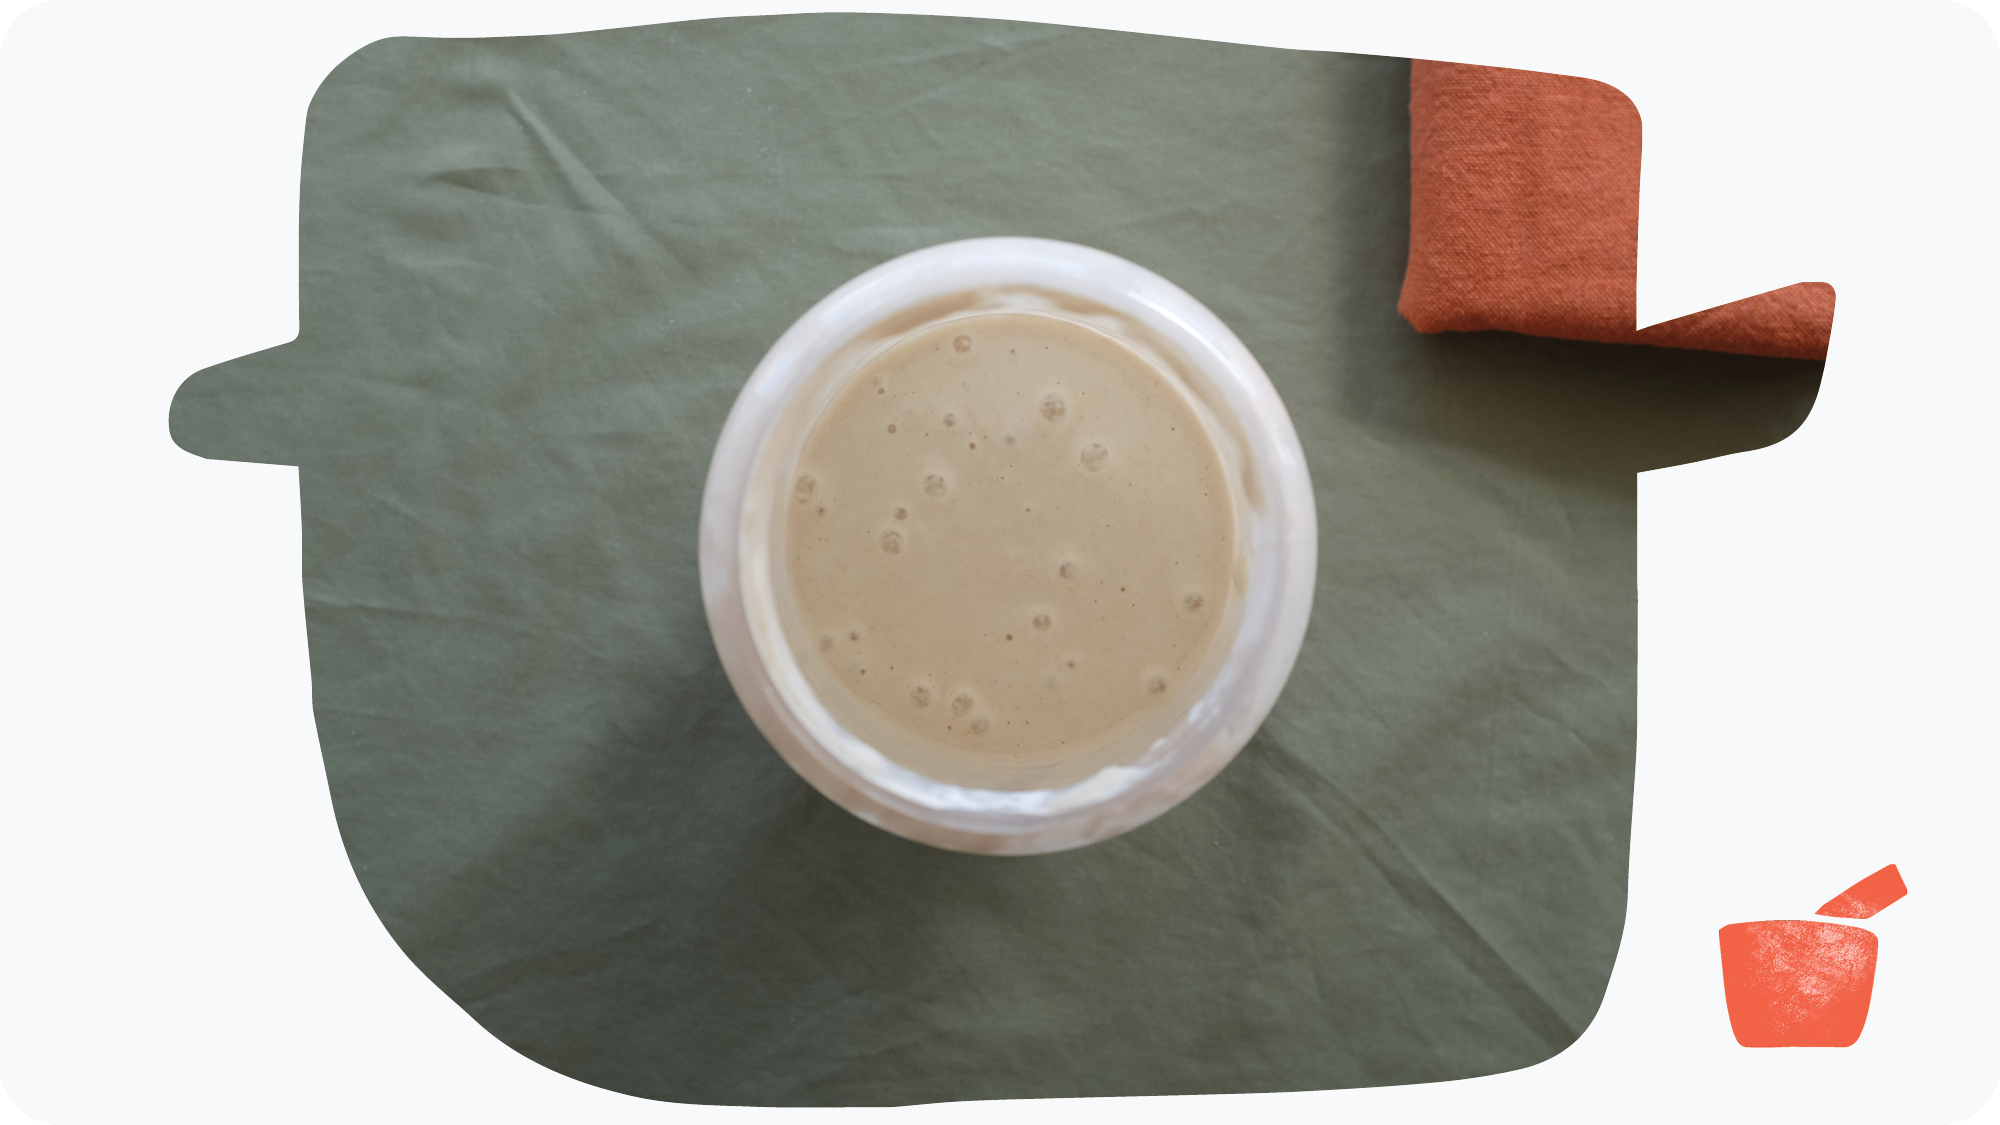
3. Check if the mixture is bubbling
Over time as the starter starts fermenting you should start to see bubbles emerge at the top. This doesn’t mean it will be fizzy – the mixture is thick so it won’t be a case of witnessing bubbles swim to the top.
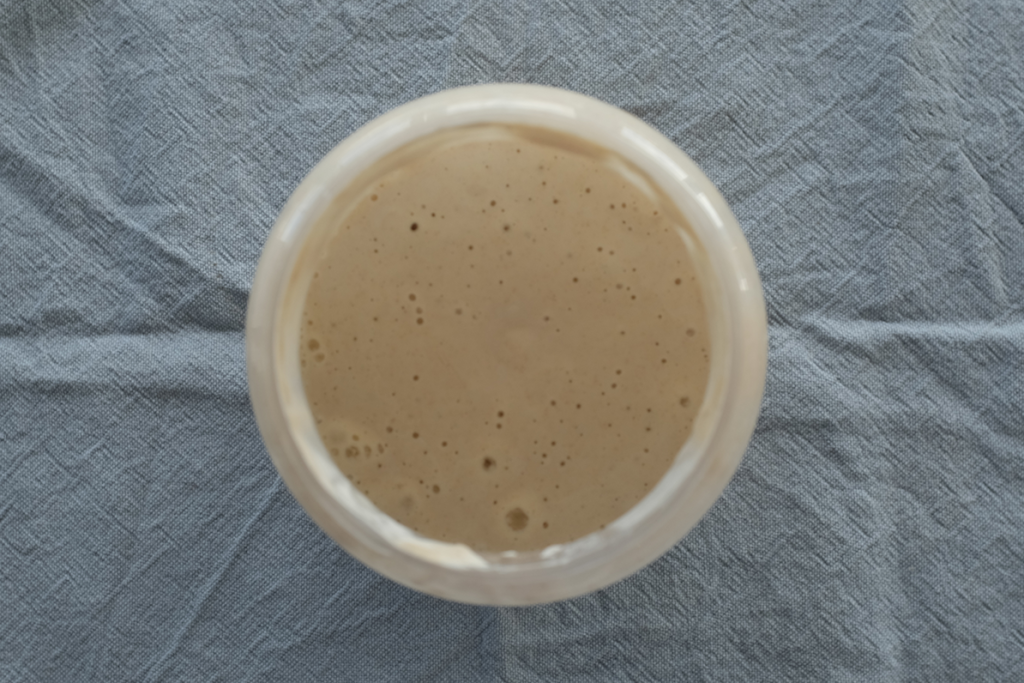
What you’re looking for is some bubbles visibly sitting at the top of the mixture and a yeasty sour-ish smell coming from the starter. If you can see this, skip to step 5.
4. If it’s not, keep feeding it
If your starter is still looking like a simple mixture of flour and water and doesn’t seem to be fermenting yet, then keep adding more rounds of four and water (still at a 50g to 50g ratio).
Every environment is different, and depending on the heat, humidity or a variety of other factors it can take different times for the reaction to start, so just keep persevering until you can see the results described in step 3.
5. (If making bread immediately) Do a ‘big feed’
If you’re ready to make your first loaf of sourdough bread, then pour about half of it away to make space in the jar (you can save the excess in a different jar to give to a friend or just throw it away) and feed the starter with a mix of 100g strong white bread flour (or plain flour – once the starter is established you can start using the cheap stuff) and 100g of tepid water.
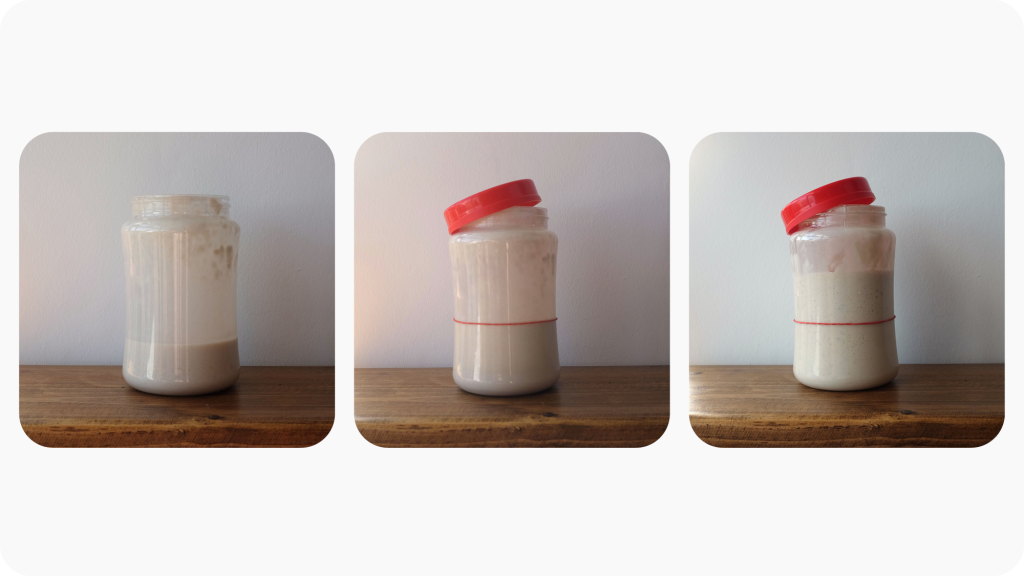
Before you use your starter to make bread you want it to double in size as it rises by fermenting. To measure this, place an elastic band around your starter jar indicating the level of the mixture inside and leave the jar at room temperature with the lid slightly off. Generally it takes a few hours for the starter to expand, so just keep an eye on it.
At this point, head over to our guide on making sourdough bread for the next steps. Thanks for reading – good luck!
6. (If not making bread immediately) Put your starter in the fridge and feed regularly
Once your starter is fermenting, you can slow down the process by keeping it in the fridge. To keep it alive and healthy for making bread regularly, feed it with another mix of 50g of flour and 50g of water every 4-5 days. Once you’ve had it for a few weeks, I would recommend feeding it with regular plain flour rather than strong white bread flour. It’s cheaper and it doesn’t seem to have done mine any harm once established.
If you’re not planning on making bread regularly, your starter will survive in the fridge for 2-3 weeks without feeding, but you’ll want to do a couple of smaller feeds to revive it before doing a ‘big feed’ (step 5) to make bread if you’re planning to leave it for that long.
Whenever you’re ready to make a loaf of sourdough bread, head along to our step-by-step guide – just remember to keep an eye on your starter in the meantime.
Final thoughts
Remember your starter is alive. It may not need as much attention as a pet, but it does rely on you for care and attention in the same fashion. It’s helpful to open it to smell/stir your starter every now and again to see if it’s smelling more yeast-y or if anything else has changed (you’ll grow familiar with your starter over time and understand how best to care for it). If left too long, your starter will start to smell quite alcoholic and begin to form a layer of liquid on top. This is a sign that it needs feeding – so if you notice this then give it some more flour and water.
It’s also worth bearing in mind that ‘a sourdough starter’ doesn’t mean just one thing. The guide above gives the method for making one specific kind of sourdough starter, but there are many different variations, depending mainly on the types of flour that you use and where the starter is made (different yeasts will give different flavours).
As ever with anything related to home cooking, and particularly baking, there’s a pretty deep rabbit hole to go down in terms of learning more and experimenting with different ingredients and environments. As this is just a beginner’s guide, we’ll leave things here for now – head over to our sourdough bread guide so you can start putting your starter to use.