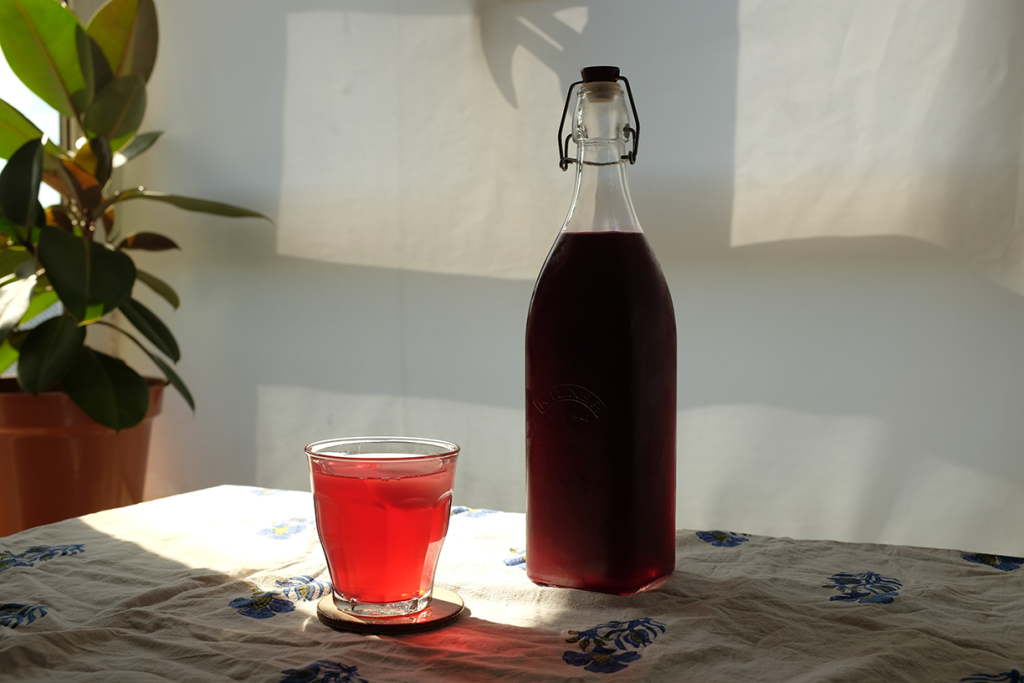
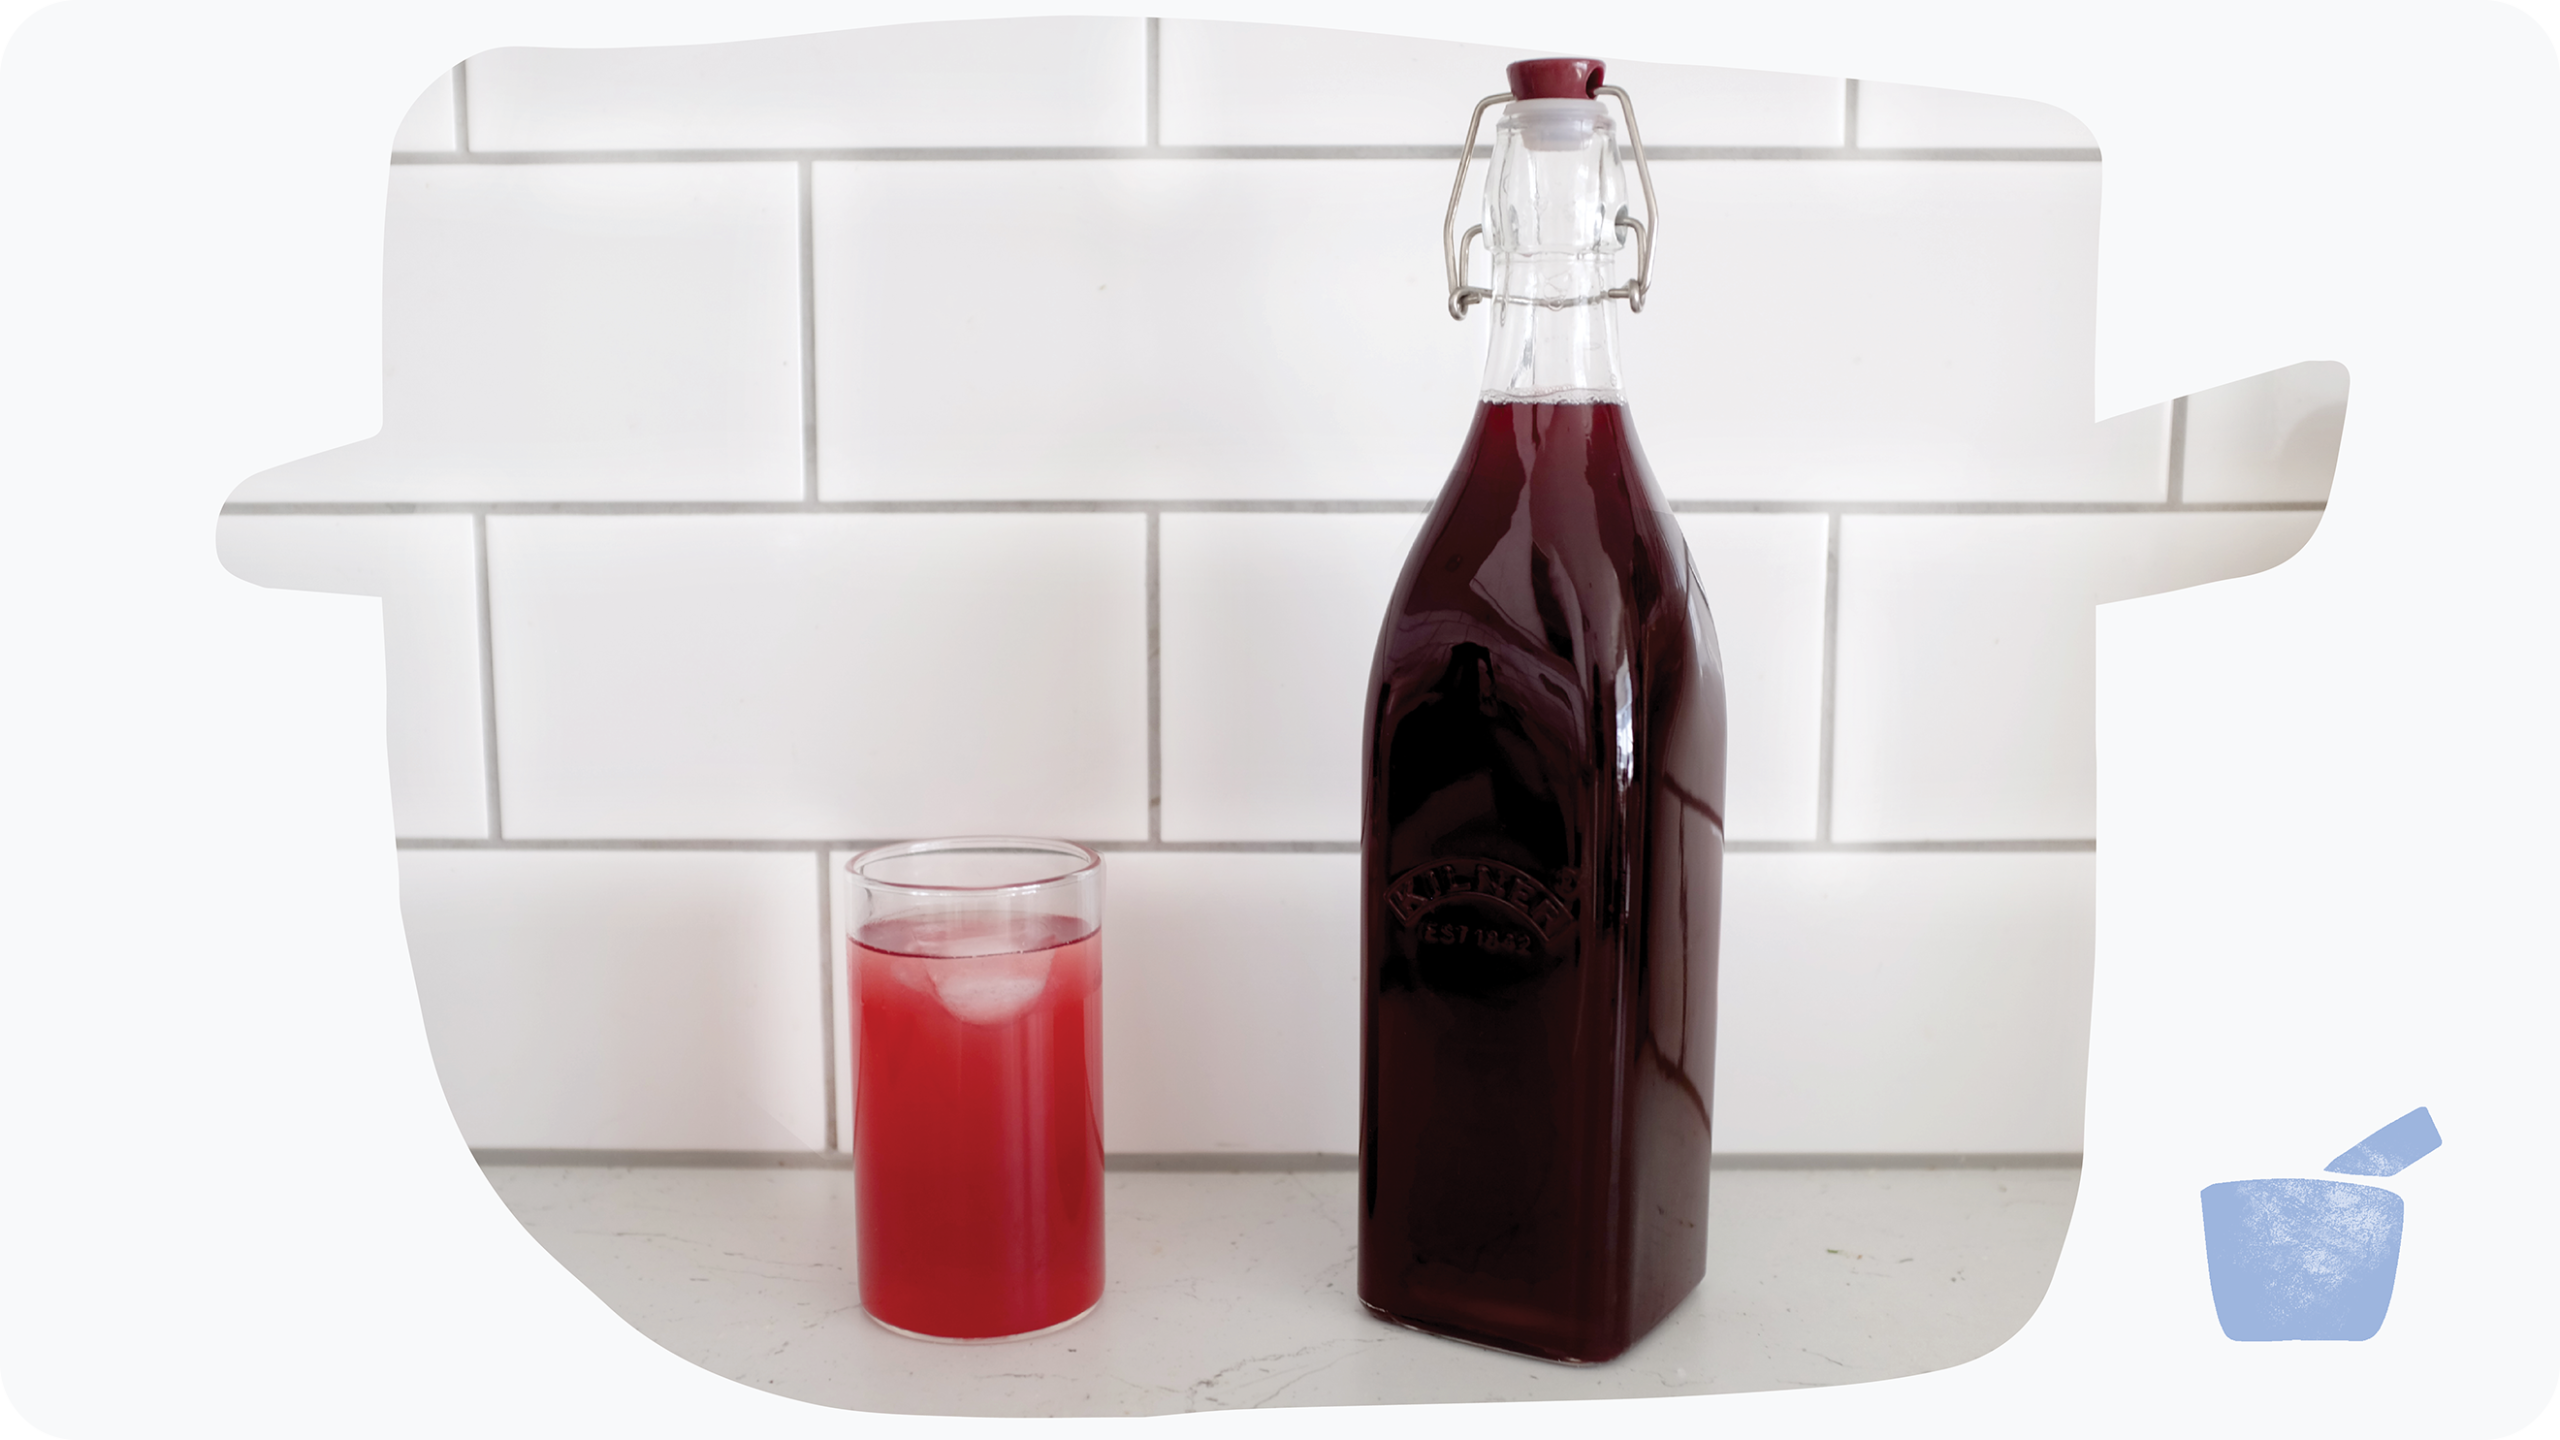
Why you should make your own fruit squash, and a simple step-by-step guide on how to do so.
Squash is just thin jam.
That sentence is weird when you first hear it, but I stand by it. When making squash what you’re looking to do is create a fruity, concentrated syrup which you can dilute with water later to make a refreshing drink. To do this you simply need to boil fruit, add sugar and reduce over a high heat – exactly like jam but reduced for less time and then strained (hence the thin-ness).
Home-made squash lasts a lot longer than the watery fruit squash you can buy at a supermarket (even the thinnest jam is thicker than flavoured water), and it’s also much tastier – as are all home-made drinks in my experience. When you make squash the flavours from the fruit get more and more concentrated as the liquid reduces, and you end up with a glass that really tastes fruity and not at all synthetic.
Another great thing about making your own squash is that it’s really easy and can be done with frozen fruits and berries to keep the cost down. So, here’s how you can make your own.
Making fruit squash: a step-by-step guide
Ingredients
Makes 1 litre of squash
- 1kg fruit (fresh or frozen)
- 600ml water
- 400-500g sugar
Equipment
- Large pan
- Large mixing bowl
- Measuring jug
- Sieve
- Cheesecloth/muslin
- 1L glass bottle/container
- Funnel
- Oven gloves
1. Add 1kg of fruit to a large pan
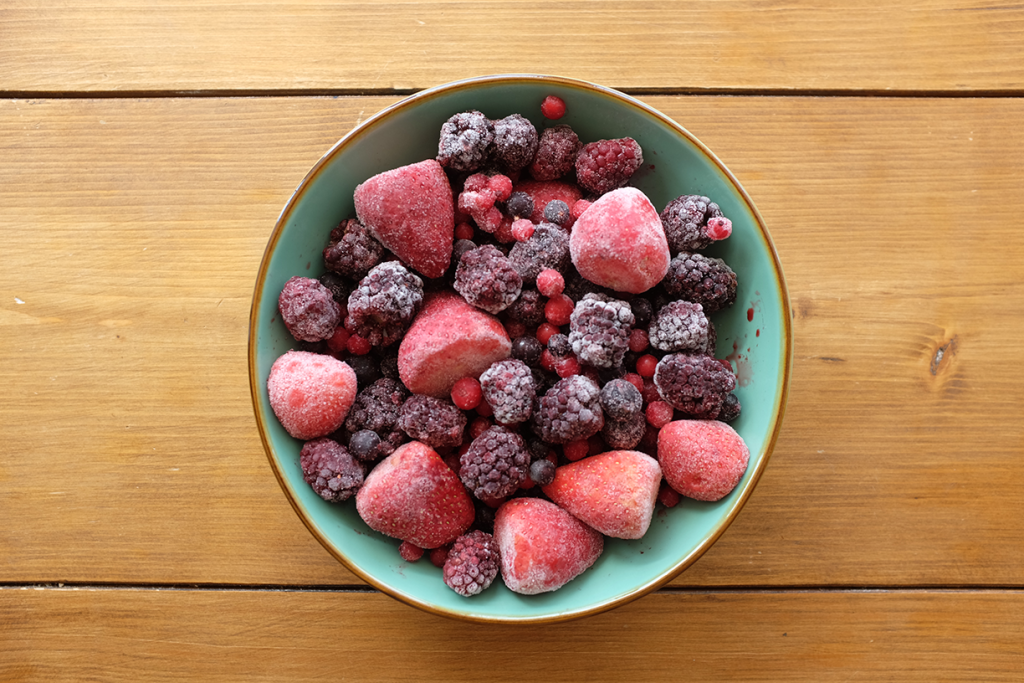
Any fruits and berries will work here, it all depends on what flavour you want. The process also works great with frozen berries – often I will simply buy the cheapest 1kg frozen bag of mixed fruits and this still makes a really great squash.
2. Add 600ml of cold water and bring to the boil
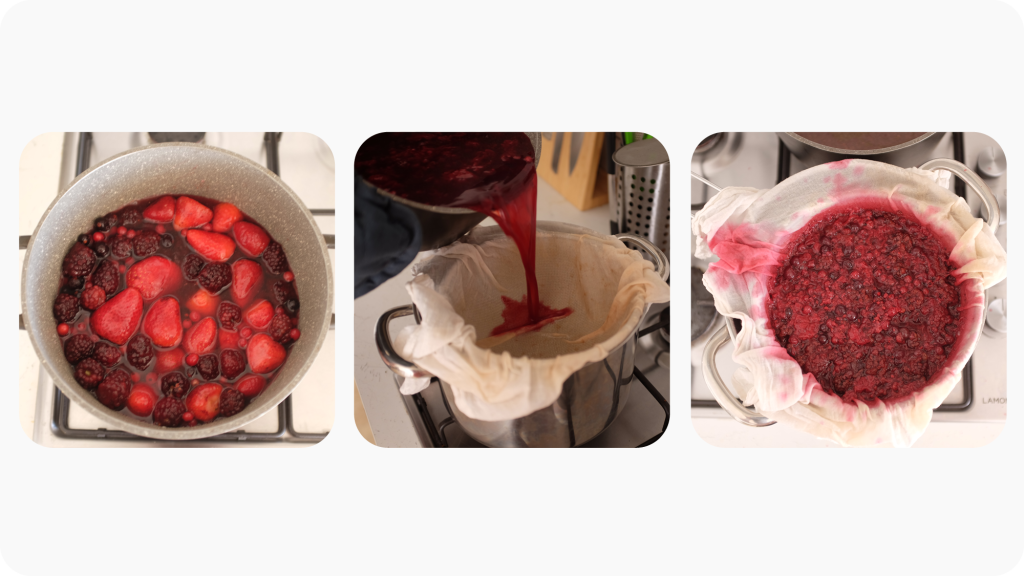
Measure out 600ml of water and add it to the pan with your fruit. Then put on a high heat and bring it to the boil. If you’re using frozen fruit, you’ll want to use a spoon to break up the chunks as the liquid starts to heat up.
3. Boil for 45 minutes with the lid off
After the mixture is boiling, turn the heat down to low/medium and gently boil for 45 minutes. Leave the lid off to allow the water to evaporate (the aim here is to reduce the liquid down so the flavour is more concentrated). Give the mixture a stir every 5-10 minutes to stop anything sticking to the bottom of the pan.
4. Strain the mixture into a large mixing bowl
Put a piece of cheesecloth or muslin over a sieve and place this on top of a large mixing bowl. Gradually pour the mixture into the sieve, being careful not to splash yourself with the hot liquid. Let all the liquid drip though into the bowl (this can take about 10 minutes)
5. Fill a 1L glass bottle or container with boiling water
While the mixture is dripping through the sieve, take the time to prepare the bottle or jar you’ll be using to store your squash. When the liquid is ready to pour it’ll be boiling hot, so it’s important to heat up the glass bottle to avoid the risk of it cracking or shattering. Adding the squash to the bottle while it’s boiling hot helps ensure the bottle is sterilised and means your squash will last longer.
Just as with sterilising a jar, you want to avoid damaging the glass by pouring boiling water into a cold container. Put a kettle on and then while waiting for it to boil fill your glass bottle with hot water from the tap to warm it up. When the kettle has boiled, empty the bottle and fill it with boiling water.
Leave the boiling water in the bottle to keep the glass hot until you have finished making your squash.
6. Remove the fruit and add the liquid back into the pan
When all the liquid has dripped into the mixing bowl, discard the fruit and add the liquid back into the pan.
If you prefer you can keep the fruit and eat it with something sweet such as ice cream – but the process of boiling it makes the fruit very bitter and I usually end up throwing it out after a few days of finding excuses not to eat it.
7. Add 400-500g of sugar
Once the fruit has been boiling for 45 minutes, weigh out 400-500g of sugar, pour it into the mixture and then stir until it has fully dissolved. How much sugar you add depends on how sweet you want your squash to be, and how sweet the fruits and berries you are using are.
To give an example, if you’re using redcurrants and blackcurrants you might want to use a little more sugar, whereas if you’re using raspberries or strawberries you might want a bit less. Personally I usually use 500g of sugar and a mixture of fruits and berries.
8. Bring back to the boil
Once the sugar has been added, turn the heat back up and then bring the mixture back to the boil while stirring every minute or so. As soon as you see the mixture start to boil, turn off the heat.
You will likely see some pink foam start to form on the top of the liquid, and you can either skim this off or leave it (I usually leave it as it’s hard to remove all of it anyway and it doesn’t do any harm).
9. Empty the 1L glass bottle down the sink and place on a heat-proof mat
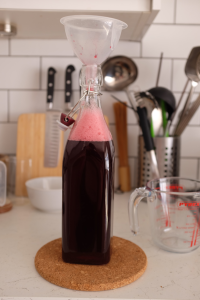
Using oven gloves, tip the boiling water out of the glass bottle or container and down the sink. Then place the bottle on a heat-proof mat and put a funnel in the top.
10. Pour the liquid from the pan into the bottle
Carefully pour the liquid in the pan into the bottle. Remember it’s boiling hot so do this very slowly to avoid knocking anything over/spilling any liquid.
11. Leave to cool
Once the bottle is full, leave it to cool with a sieve over the top to keep flies away. It takes a few hours to cool to room temperature. Once it has cooled, keep it in the fridge and it should last at least a month (in the unlikely event you haven’t finished it before then).
Congratulations, you’ve made thin jam!